


How to Install a Britax Car Seat: Step-by-Step Guide

Are you ready to ensure your child’s safety while on the road? Installing a Britax car seat is one of the best decisions you can make to protect your little one.
But, let’s face it, car seat installation can sometimes feel like solving a complex puzzle. You want to get it right the first time, don’t you? Imagine the peace of mind you’ll have knowing your child is securely buckled in with a seat that meets top safety standards.
In this guide, you’ll find simple, step-by-step instructions to make the installation process easy and stress-free. So, let’s dive in and get your Britax car seat set up perfectly. Because your child’s safety is priceless, and you deserve to feel confident every time you hit the road.
Choosing The Right Britax Car Seat
Choosing the right Britax car seat is crucial for your child’s safety. With various models available, it can be overwhelming to pick the perfect one. Each model offers different features suitable for various ages and weights. This guide will help you identify the best Britax car seat for your needs.
Understanding Age And Weight Requirements
Britax car seats have specific age and weight guidelines. Infants need rear-facing seats for maximum protection. Older children benefit from forward-facing seats with harness systems. Knowing these requirements ensures your child’s safety and comfort.
Evaluating Safety Features
Safety features vary across Britax car seat models. Look for side-impact protection and energy-absorbing foam. These features can make a significant difference during a collision. Always prioritize seats with high safety ratings.
Considering Ease Of Installation
Installation ease is vital for every car seat. Britax offers models with simple installation systems. Check for clear instructions and user-friendly designs. A properly installed seat enhances safety for your child.
Assessing Comfort And Design
Comfort is essential for long car journeys. Britax car seats come with padded cushions and adjustable headrests. Choose a design that suits your car’s interior and your child’s preferences. A comfortable child is a happy traveler.
Checking Compatibility With Your Vehicle
Not all car seats fit every vehicle. Ensure the Britax seat is compatible with your car model. This may involve checking seat dimensions and attachment systems. Compatibility ensures a secure and safe fit.
Preparing For Installation
Preparing to install a Britax car seat is crucial for safety. Ensuring correct installation can protect your child on the road. This guide helps you get ready for a seamless installation process.
Reading The Manual
The manual is your best friend during installation. It provides detailed instructions. Every car seat comes with a specific guide. Read it thoroughly before starting. Understanding the manual ensures correct installation. It also helps avoid common mistakes. Keep the manual handy for reference.
Gathering Necessary Tools
Before starting, gather all necessary tools. Most Britax car seats need basic tools. A wrench or screwdriver might be needed. Check the manual for specific tool requirements. Having tools ready saves time. It also makes the installation process smoother. Ensure tools are in good condition.
Installing With Latch System
Installing a Britax car seat using the LATCH system can ensure your child’s safety. The LATCH system simplifies the installation process. It provides a secure attachment to your vehicle. Follow these steps to correctly install your Britax car seat with the LATCH system.
Locating The Latch Anchors
First, find the LATCH anchors in your vehicle. They are usually in the back seat. Look between the seat cushion and backrest. Many vehicles have labels or icons to show their location. Check your vehicle’s manual if unsure. Knowing where they are saves time.
Securing The Car Seat
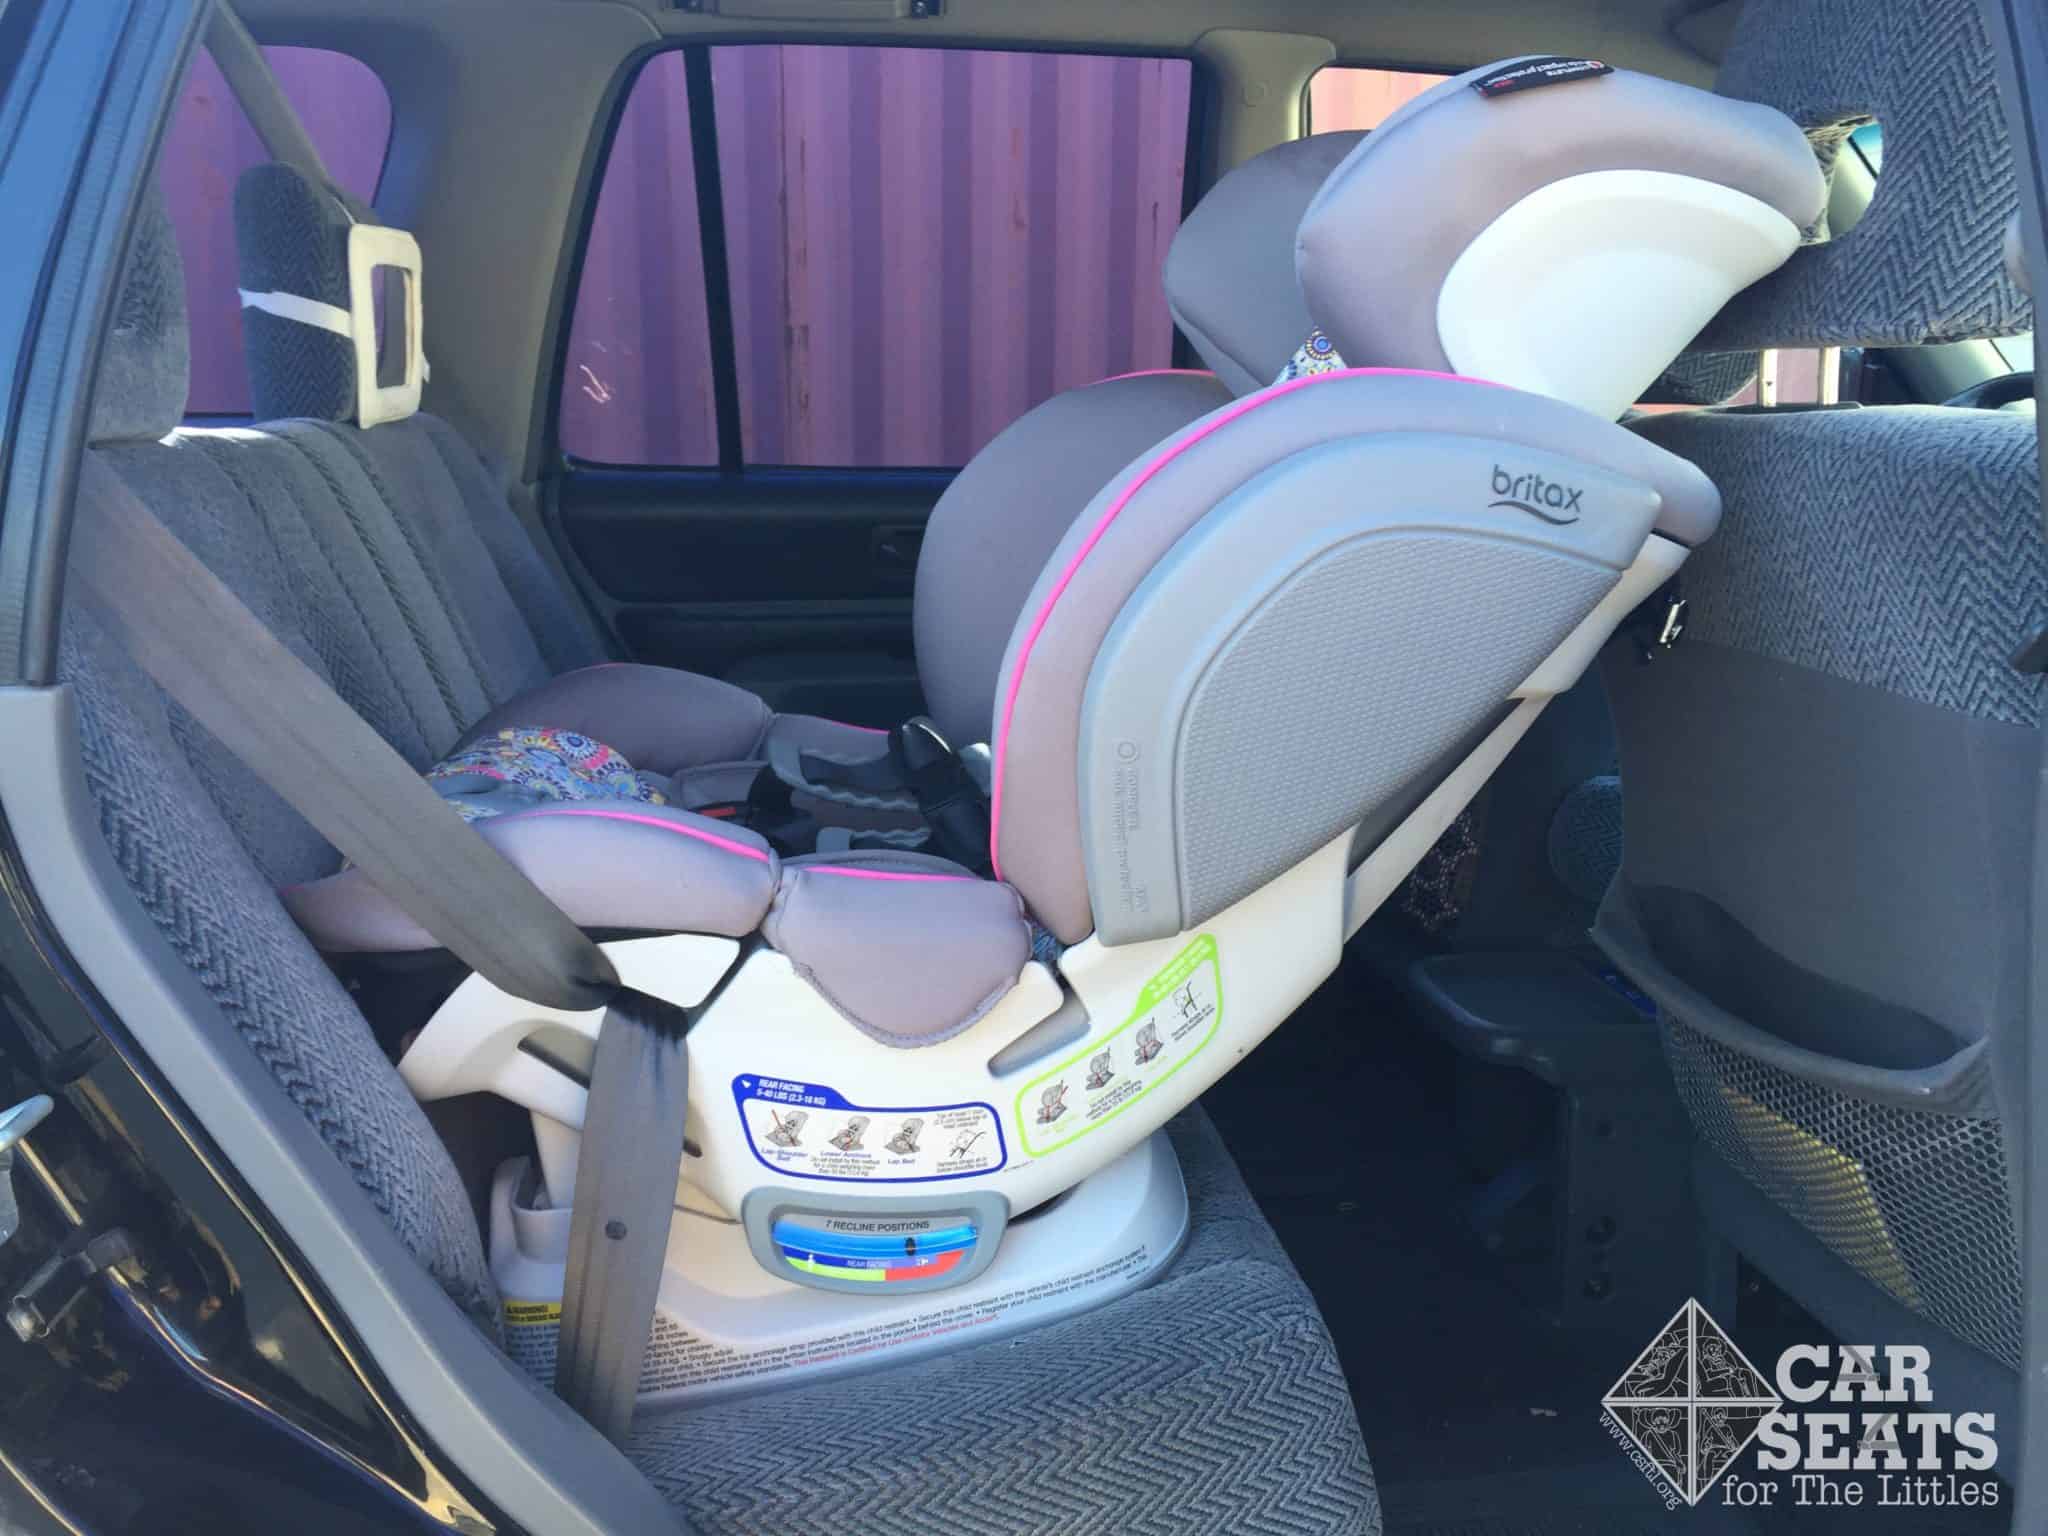
Once you find the anchors, attach the car seat connectors. Connectors are on both sides of the car seat base. Push the connectors onto the anchors until you hear a click. This sound means a secure connection. Pull the car seat to check stability. It should not move more than an inch. Tighten the strap for added security. Ensure the car seat is at the correct angle. Use the built-in level indicators if available. These help in proper positioning. Your child’s safety depends on this step.
Credit: csftl.org
Installing With Seat Belt
Installing a Britax car seat using the seat belt method provides flexibility. It allows you to secure the seat in various vehicles without relying on anchors. Follow these easy steps for a safe installation.
Positioning The Car Seat
Place the Britax car seat on the vehicle’s back seat. Ensure the seat faces the correct direction based on your child’s age and weight. Confirm the seat is level by checking the indicators on the side. Adjust the recline angle if necessary. A stable seat is crucial for safety.
Threading The Seat Belt
Pull the seat belt out completely from the buckle. Thread the belt through the designated path on the car seat. Ensure the belt is flat and not twisted. Follow the instructions specific to your Britax model. Proper threading ensures the seat remains secure.
Locking The Seat Belt
Push the seat belt into the buckle until it clicks. Pull the belt tight to remove any slack. Engage the locking mechanism to prevent movement. Test the seat for stability by gently shaking it. The seat should not move more than one inch side to side.
Adjusting The Harness
Adjusting the harness of a Britax car seat is crucial. It ensures your child’s safety during every ride. A properly adjusted harness offers maximum protection. The process is straightforward but requires attention to detail. Follow the steps below to guarantee a secure fit.
Setting The Harness Height
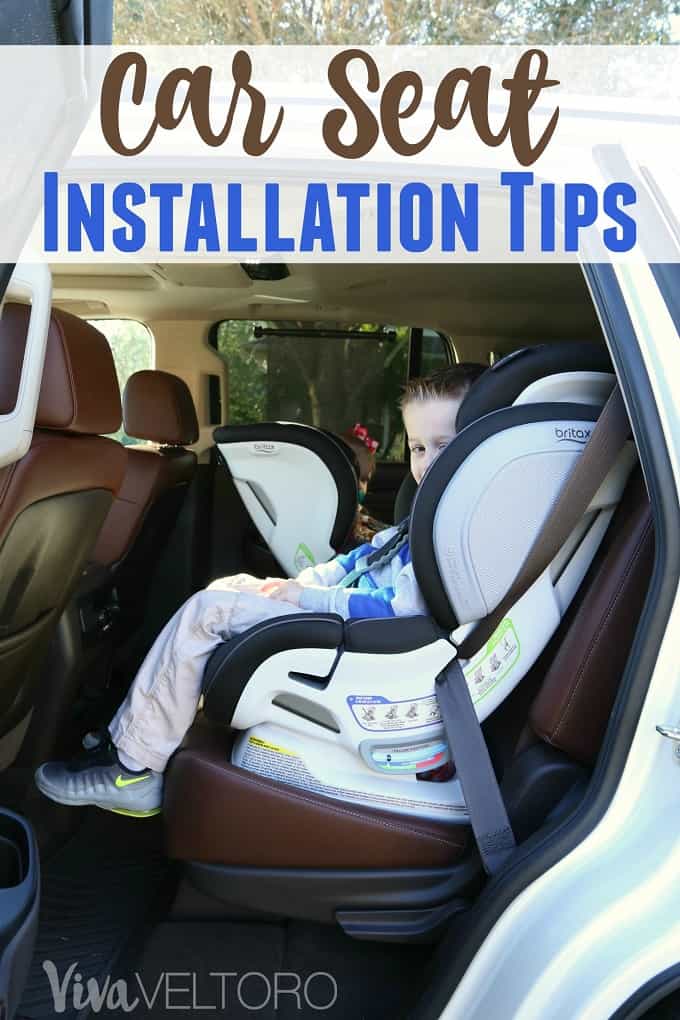
The harness height should align with your child’s shoulders. For rear-facing seats, position the straps at or below shoulder level. In forward-facing seats, align them at or above the shoulders. Adjust the harness by rethreading through the appropriate slots. Confirm the straps lie flat and untwisted. Ensuring the correct height is crucial for safety.
Checking The Harness Tightness
After adjusting the height, check the harness tightness. Pull the harness adjustment strap to tighten. The harness should be snug against your child. Perform the “pinch test” at the shoulder. You should not be able to pinch any slack. A secure harness prevents excessive movement. It protects your child in the event of sudden stops. Regularly check for tightness before each trip.
Credit: www.vivaveltoro.com
Testing The Installation
After installing your Britax car seat, testing the installation is crucial. This ensures your child’s safety during each car ride. Proper testing verifies that the seat is securely fastened. It gives peace of mind to parents, knowing their little one is safe.
Ensuring Stability
First, check the car seat’s stability. Gently shake the seat to ensure it doesn’t move excessively. The seat should be tightly attached to the vehicle. If it shifts more than an inch, adjustments are needed. Stability is key to protecting your child in sudden stops or accidents.
Performing The Inch Test
The inch test is simple and effective. Use your hand to push the car seat side-to-side and back-to-front. It should not move more than an inch in any direction. This test checks if the seat is properly anchored. If the seat moves too much, re-tighten the straps or latch system. Ensuring less than an inch movement is vital for safety.
Common Installation Mistakes
Installing a Britax car seat may seem simple, but mistakes are common. These errors can compromise safety. Understanding typical installation problems helps ensure your child’s protection. Let’s explore some frequent mistakes.
Loose Installation
A secure car seat is crucial for safety. Many installations are too loose. This makes the seat unstable. Always check the tightness after installation. The seat should not move more than an inch side to side or front to back. Use your body weight to press down while tightening. This helps achieve a snug fit.
Incorrect Harness Position
The harness keeps your child secure. Incorrect positioning is a common error. Straps should be at or above your child’s shoulders. For rear-facing seats, ensure the harness is at or below shoulder level. Straps must lie flat and not twisted. Adjust the harness to be snug. It should pass the “pinch test”—you should not be able to pinch any excess webbing at the shoulder.
Safety Tips
Installing a Britax car seat correctly is crucial for your child’s safety. Safety ensures peace of mind during every journey. Following these tips will help protect your little one.
Regular Checks
Inspect the car seat regularly. Check for any wear or damage. Make sure all components are in good condition. Ensure the seat is securely installed each time. Loose installations can be dangerous.
Proper Child Positioning
Position your child correctly in the car seat. The harness should fit snugly. Ensure the straps are at or below shoulder level for rear-facing seats. For forward-facing seats, straps should be at or above shoulder level. Avoid bulky clothing under the harness. It can prevent a snug fit. Always follow the car seat manual for guidance.

Credit: www.youtube.com
Frequently Asked Questions
How Do I Prepare My Car For Installation?
Before installing a Britax car seat, ensure your car is on a level surface. Read the vehicle’s manual to locate appropriate anchors and seatbelt paths. Clear the area of debris and adjust the seat as needed for a snug fit.
What Tools Do I Need For Installing Britax Car Seat?
You don’t need special tools for installing a Britax car seat. The car seat and vehicle should have all necessary components. Follow the installation instructions provided in the car seat manual for best results.
How Tight Should The Car Seat Be Installed?
The Britax car seat should be tightly installed with minimal movement. It shouldn’t move more than an inch side-to-side or front-to-back. This ensures the seat remains secure during travel, providing maximum safety for your child.
Can I Install A Britax Car Seat Rear-facing?
Yes, Britax car seats can be installed rear-facing. This position is recommended for infants and toddlers. Check your car seat manual for specific instructions on how to install it rear-facing properly.
Conclusion
Installing a Britax car seat is simple with the right steps. Ensure your child’s safety by following instructions carefully. Double-check each strap and buckle for a secure fit. Don’t rush the process; take your time. Practice makes perfect, so repeat the installation if needed.
Always refer to the car seat manual for guidance. Keep your child safe and comfortable during every ride. Remember, a properly installed car seat can save lives. Your child’s safety is worth the effort and attention.


