


How to Remove Britax Car Seat: Step-by-Step Guide

Are you struggling to figure out how to remove your Britax car seat? You’re not alone.
Many parents find themselves puzzled when it comes to taking out these secure and sturdy seats. But don’t worry, you’re in the right place. In this guide, we’ll walk you through the process step-by-step, ensuring you can do it quickly and safely.
Imagine the relief and peace of mind you’ll feel once you can effortlessly handle this task. Let’s get started, and soon enough, you’ll be a pro at removing your Britax car seat with ease. Keep reading, because the solution to your problem is just a few scrolls away.
Tools And Preparations
Preparing to remove your Britax car seat? It’s important to know the tools and steps needed for a smooth process. Taking time to prepare ensures safety and efficiency. This guide will help you gather necessary items and take safety measures.
Necessary Tools
First, you’ll need a few basic tools. A flathead screwdriver is essential. It helps with loosening clips and latches. A small flashlight can be handy. It allows you to see hidden parts clearly. A towel or cloth is useful. It helps protect your car’s upholstery from scratches.
Safety Precautions
Safety is key when removing a car seat. First, ensure the car is parked on a flat surface. This prevents unwanted movement. Turn off the car’s engine. This avoids accidental power issues. Ensure the car seat is unoccupied. Check twice, especially if you have children. Wear gloves if you have sensitive skin. They protect you from sharp edges. Keep your tools organized. This avoids misplacing them during the process.
Locating The Anchors
Removing a Britax car seat begins with finding the anchors. These anchors secure the seat in place. Properly identifying them is crucial for safe removal. Start by examining the base of the seat. Look where it connects to the car. This ensures a smooth process and maintains safety.
Identifying The Latch System
The LATCH system stands for Lower Anchors and Tethers for Children. It’s a standard feature in many cars. Check for small metal bars in the seat crevice. These bars connect the car seat to the vehicle. Britax car seats often use this system. Familiarize yourself with its components.
Locate the LATCH connectors on the seat. They usually have a clip or hook design. Ensure you can see or feel them before proceeding. Understanding this system simplifies the removal process. It also ensures the seat remains undamaged.
Finding The Seatbelt Path
Some Britax seats use the seatbelt for installation. Locate the path where the belt threads through. This path is often marked with a label or color. It guides the seatbelt securely through the car seat.
Check the sides and back of the car seat. Make sure the belt is free of twists. A twisted belt can compromise safety. Pay attention to any clips or guides. They help keep the belt in place during use.
Detaching The Latch Connectors
Detaching the LATCH connectors from your Britax car seat can be simple. Understanding each step helps ensure you do it safely and correctly. This guide will walk you through the process of releasing the lower anchors and freeing the top tether. Follow these steps carefully for a smooth removal.
Releasing The Lower Anchors
Locate the lower anchors on your car seat base. These are usually at the back, near the bottom. Press the release button on each connector. Pull the connectors away from the car’s anchor points. Ensure the straps are free from any twists. This prevents damage to the seat or car.
Freeing The Top Tether
Find the top tether strap behind the car seat. This strap secures the top of the car seat. Release the tether by pressing the buckle or clip. Pull the strap to free it completely. Ensure there are no knots or twists in the strap. Store the strap securely to prevent it from getting tangled.
Removing The Seatbelt Installation
Removing a Britax car seat can seem challenging. Especially if it’s secured with a seatbelt. Proper removal requires care to ensure both safety and ease. This section will guide you through the process of detaching the seatbelt installation. Follow each step closely for a smooth experience.
Unbuckling The Seatbelt
First, locate the seatbelt buckle. Press the release button to unbuckle it. Make sure the seatbelt is fully released. This ensures the car seat can move freely. Double-check that the belt is not twisted or stuck.
Pulling The Seatbelt Out
After unbuckling, gently pull the seatbelt out. Hold the belt near the latch plate. Slowly guide it through the car seat’s belt path. Continue until the belt is completely free. This step prevents any damage to the seat or vehicle.
Lifting The Car Seat
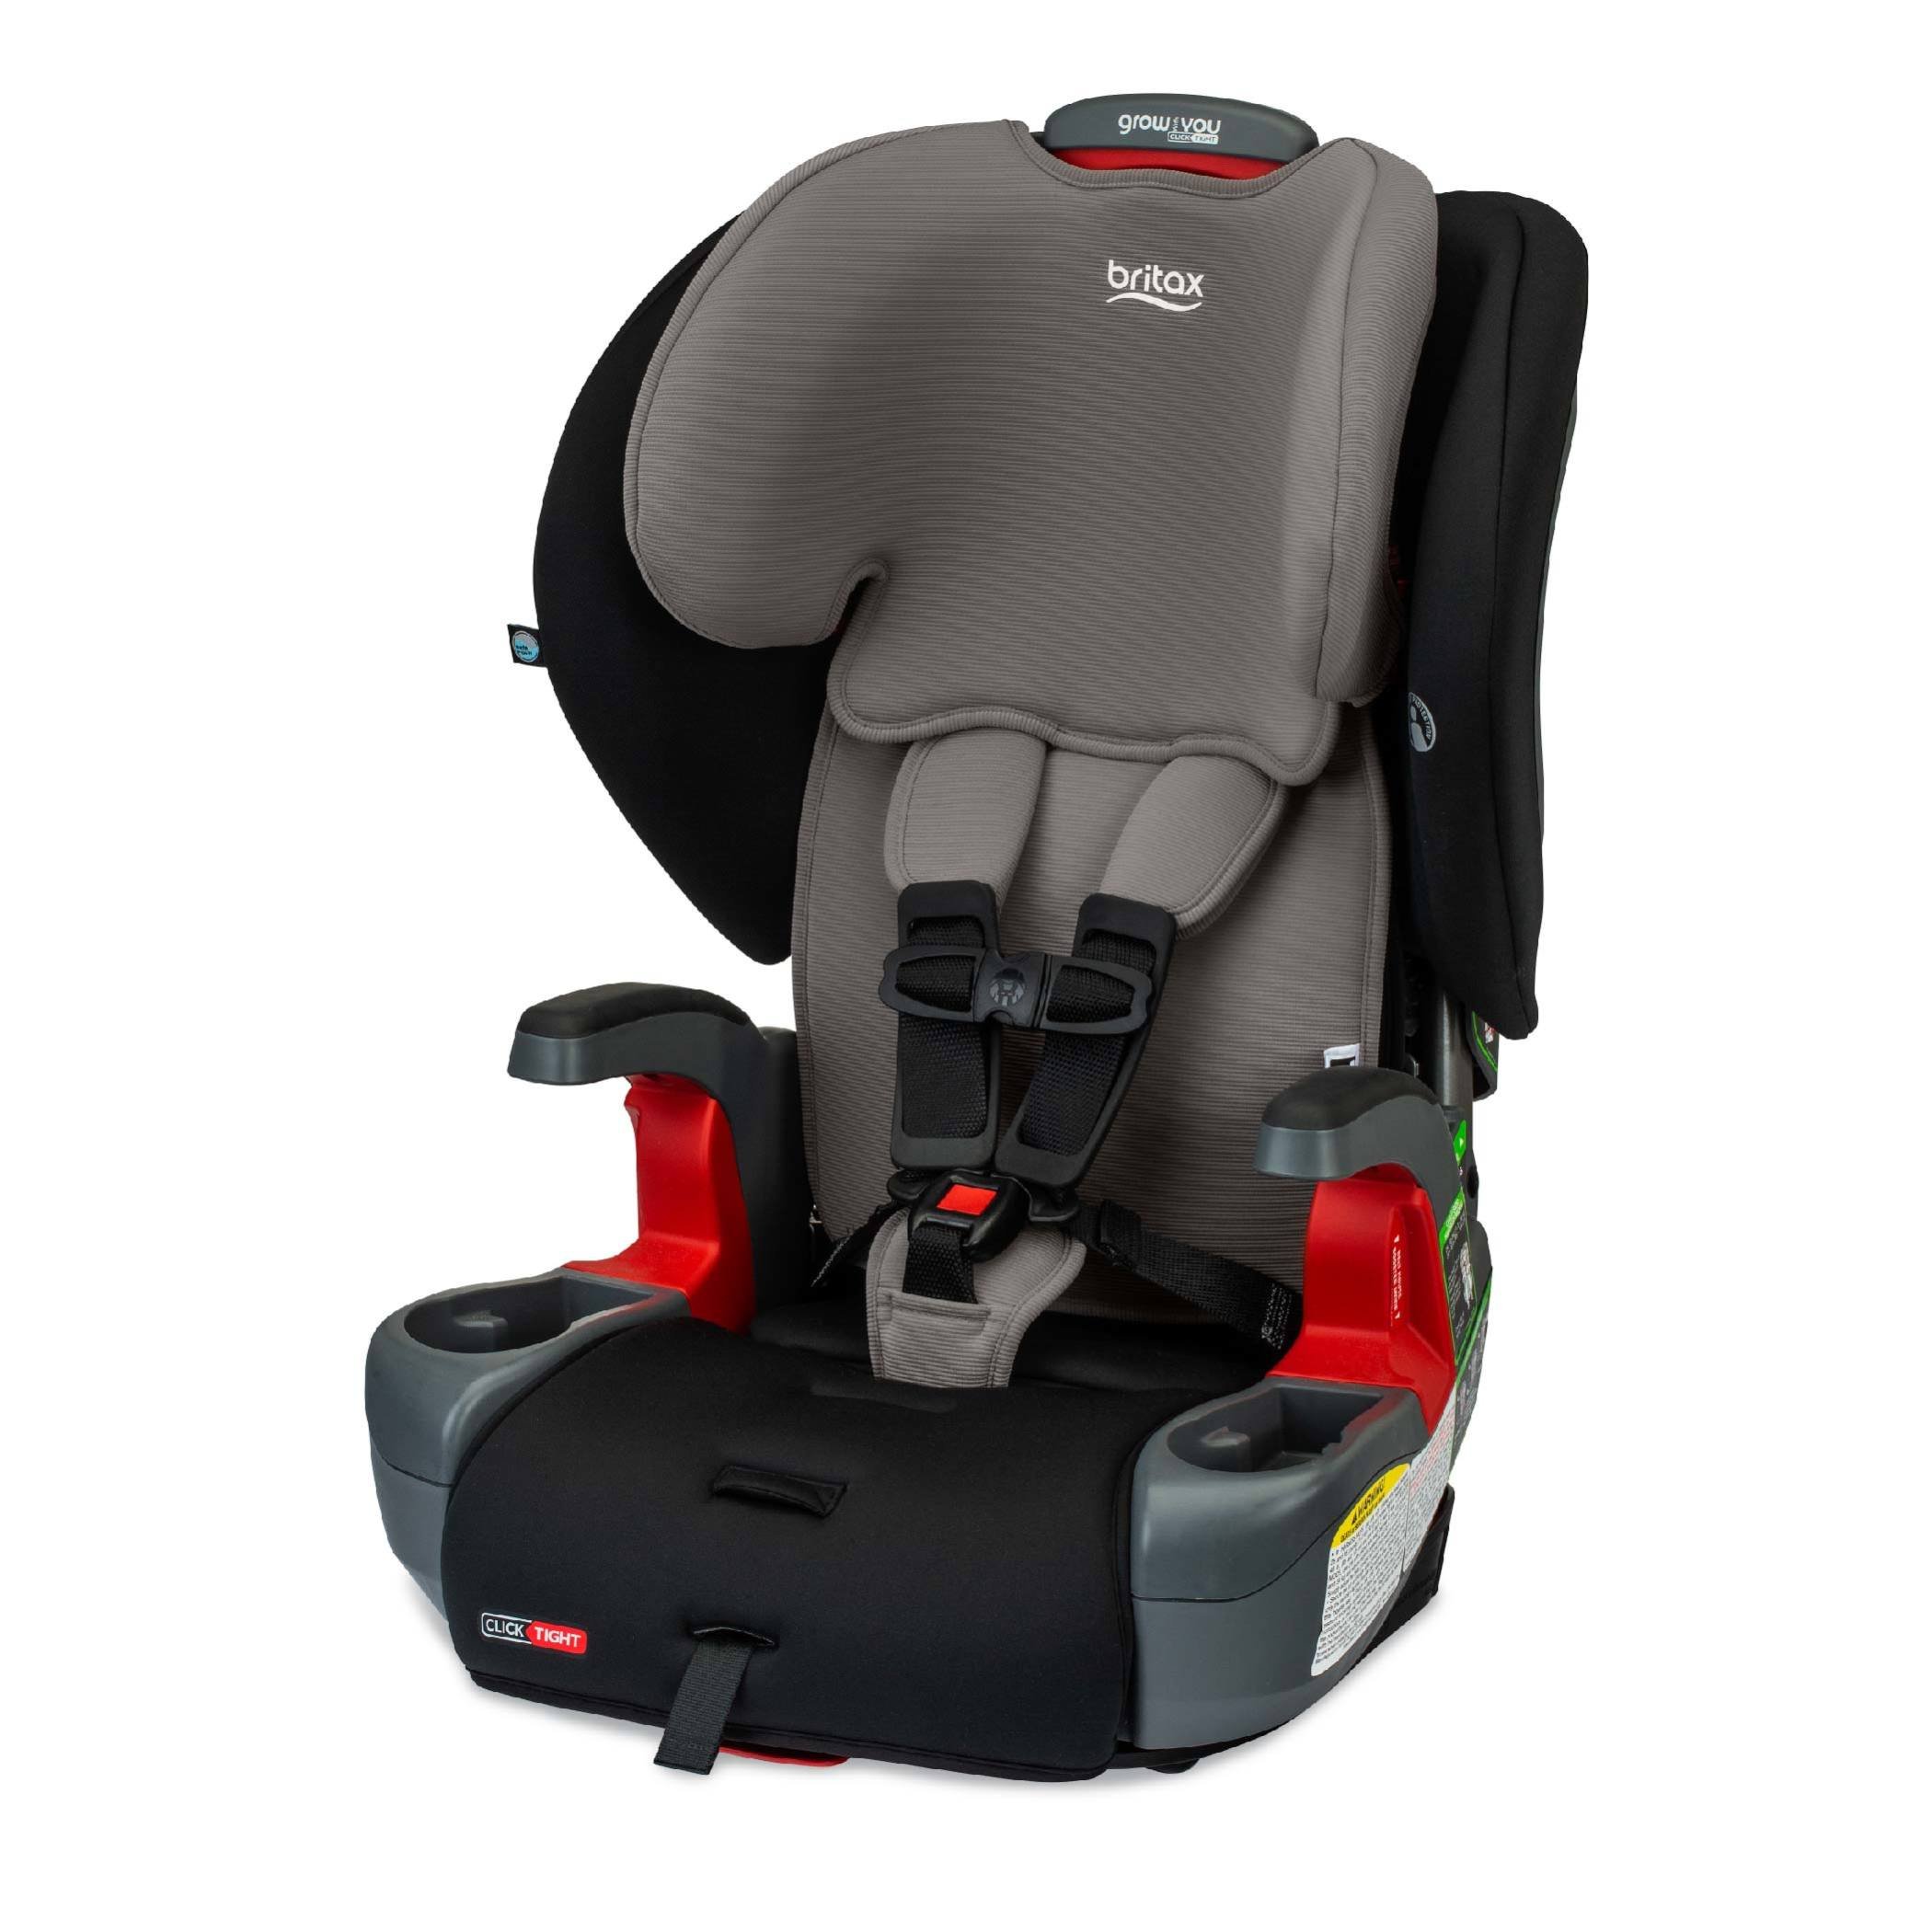
Removing a Britax car seat can seem challenging. But with the right approach, you can make the process easy and safe. The key is to focus on lifting the car seat correctly. This ensures safety and prevents damage to the seat or car interior. Let’s explore the best ways to lift your Britax car seat.
Proper Lifting Techniques
Stand close to the car seat. Bend your knees slightly. Keep your back straight. Use both hands to grip the seat securely. Lift with your legs, not your back. This reduces strain and prevents injury. Always lift slowly and steadily. Avoid sudden movements to keep control.
Handling The Seat Carefully
Once lifted, hold the seat firmly. Be cautious while moving it. Avoid bumping the seat against doors or windows. Keep it balanced to prevent tipping. If the seat is heavy, ask for help. Two people can lift more safely. Always place the seat gently on the ground or another surface. This prevents scratches or damage.
Credit: www.showven.cn
Inspecting For Damage
Inspecting your Britax car seat for damage is crucial. Before removal, ensure it remains safe for future use. Damaged car seats can compromise child safety. Thoroughly inspect both the car seat and vehicle seat. This ensures everything is in good condition. Early detection of damage is vital.
Checking The Car Seat
Start by examining the car seat cover. Look for tears or worn-out areas. Check the harness straps for fraying. Ensure buckles function smoothly without resistance. Inspect the plastic shell for cracks. Don’t miss any small dents. These may indicate larger issues. Confirm all labels are intact and readable. This ensures compliance with safety standards.
Examining The Vehicle Seat
Remove the car seat and examine the vehicle’s seat. Look for dents or marks left by the car seat. These can indicate pressure points. Inspect the seat belt for wear or damage. Ensure it retracts smoothly. Check the anchorage system. Confirm it remains secure and undamaged. Ensure the seat’s surface is clean. This prevents debris from affecting installation.
Storing The Car Seat
Storing your Britax car seat properly ensures its longevity and safety. Proper storage prevents damage and keeps the seat ready for future use. Follow these simple steps to store your Britax car seat effectively.
Cleaning Before Storage
Always clean the car seat before storing it. Remove any crumbs and debris. Use a mild soap and warm water to wipe the fabric. Make sure to rinse thoroughly and let it dry completely. Clean the harness and buckles carefully. Check for stains or spills and treat them promptly. A clean seat stays fresh and ready for use.
Safe Storage Tips
Store the car seat in a cool, dry place. Avoid areas with direct sunlight or extreme temperatures. Use a protective cover to shield it from dust and dirt. Keep it away from heavy objects that might crush or damage it. Place it on a flat surface to maintain its shape. Follow these tips to ensure your car seat remains in good condition.

Credit: www.showven.cn
Frequently Asked Questions
How Do I Detach A Britax Car Seat?
To detach a Britax car seat, first remove the harness and unclip the buckles. Next, press the release button located at the base. Pull the seat away from the vehicle. Ensure you follow the user manual instructions for safe removal to avoid damaging the seat or car.
Can I Remove Britax Car Seat Without Tools?
Yes, you can remove a Britax car seat without tools. Most Britax car seats have a simple latch system. Release the latch by pressing the button and pull the seat out. Always check the manual for specific steps to ensure a safe removal process.
How Long Does It Take To Remove Britax Seat?
Removing a Britax car seat typically takes about 10 minutes. Start by detaching the harness and buckles. Then, press the release button and lift the seat out. Follow the instructions in the user manual for smooth removal. Ensure all steps are followed for safety.
Is Removing Britax Seat Difficult?
Removing a Britax car seat is generally easy. The process involves detaching the harness and releasing the latch. Follow the manual for guidance on each step. Ensure you’re familiar with the seat’s latch system for a quick and smooth removal process.
Conclusion
Removing a Britax car seat can seem tricky at first. But with the right steps, it becomes simple. Always ensure the car is parked safely. Follow the instructions in the manual closely. Double-check each step to avoid mistakes. Remember, safety is the top priority.
Proper removal ensures the car seat stays in good condition. Practice makes the process easier next time. Keep your child’s safety in mind. Now you’re ready to remove the car seat with confidence. Feel free to revisit these steps when needed.
Safe travels!


